

 +
+
Send Cloudflare logs for Webflow sites
Promptwatch can capture crawler logs when your Webflow site proxies traffic through your own Cloudflare zone. This is called Origin-to-Origin (O2O) — traffic hits your Cloudflare zone first, then forwards to Webflow. Configure DNS first, then connect Cloudflare with Logpush or a Worker below.Step 1: Set Up Proxied DNS for Webflow
Set up proxied DNS for Webflow in your Cloudflare zone. Follow Cloudflare’s Webflow guide:- Create a proxied CNAME record pointing your domain to
cdn.webflow.com. - Set Proxy status to Proxied (orange cloud).
- Logpush
- Auto Deploy
- Manual
Step 2: Create an API Key
Create an API key in Promptwatch. Go to Settings → API Keys in your Promptwatch dashboard.Step 3: Create a Logpush Job
Go to your Cloudflare dashboard, select your domain and navigate to Analytics & Logs > Logpush > Create a Logpush job.Step 4: Configure HTTP Destination
For destination select HTTP destination. Enter the following HTTP endpoint URL:YOUR_API_KEY with your actual API key.Step 5: Configure Logpush Job
For dataset select HTTP Requests and configure the logpush job as follows:Name:promptwatch-crawler-logsIf logs match:- Field: ClientRequestHost
- Operator: Equals
- Value: YOUR_DOMAIN (example: app.promptwatch.com)
- ClientIP
- ClientRequestHost
- ClientRequestMethod
- ClientRequestReferer
- ClientRequestURI
- ClientRequestUserAgent
- WorkerSubrequest (allows us to filter out requests initiated from a Worker, since they will be seen as duplicate)
- EdgeStartTimestamp
- EdgeResponseContentType
- EdgeResponseStatus
rfc3339, which is the default format.Optional: Filter on known AI Crawler user agents
Promptwatch identifies AI crawlers automatically and only stores AI crawler visits, all other traffic is discarded. You can safely send all your server logs without worrying about non-crawler data being retained.If you prefer to only forward AI crawler traffic, you can use the user agents listed below to pre-filter on your side. Keep in mind that you’ll need to maintain this list yourself as new crawlers emerge.OpenAI (4)
OpenAI (4)
Anthropic (4)
Anthropic (4)
Google (3)
Google (3)
Perplexity (2)
Perplexity (2)
Cohere (1)
Cohere (1)
Mistral (2)
Mistral (2)
DeepSeek (1)
DeepSeek (1)
xAI / Grok (3)
xAI / Grok (3)
Step 6: Verify Cloudflare Proxy is Enabled
Verify your domain’s DNS records have the Cloudflare proxy enabled (orange cloud icon). Logpush for HTTP Requests only captures traffic that flows through the Cloudflare network. If the proxy is off (gray cloud / “DNS only”), Cloudflare never sees the requests and can’t push logs.Go to your Cloudflare dashboard → DNS → Records and make sure the Proxy status shows the orange cloud (“Proxied”) for your domain’s A/AAAA/CNAME records.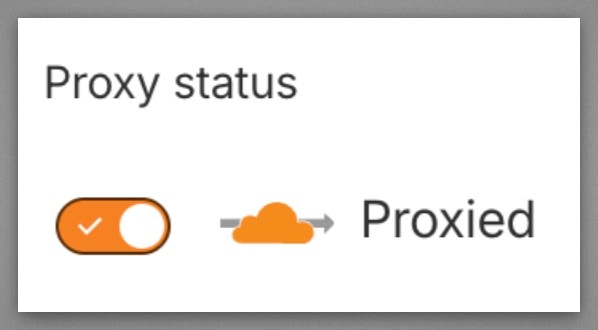
Step 7: Finish
Once submitted, your Cloudflare Logpush job will automatically send crawler logs to Promptwatch when an AI crawler visits your website. Depending on how active your website is, this can take a few minutes to appear.For a full list of API response codes, see API Response Codes.